
Solar Farm Security Camera Guide: How to Set Up Cameras on a Farm (2026)
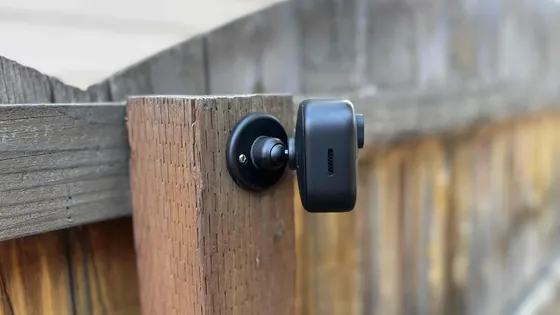
Table of Contents
A solar farm security camera that goes dark at 11 p.m. on the night the gate is cut is the most expensive camera a farm can buy. The failure is almost never the camera itself. It is the energy budget, planned for a brochure picture of sunshine instead of a December week of overcast. On a farm the stakes are physical assets (a tractor, a quad bike, a generator, a bale stack) worth $5,000-30,000 or more, sitting hundreds of meters from the nearest power outlet. Trenching a mains feed to a fence line costs $15-40 per meter, so a 500 m run lands at $7,500-20,000 before a single camera is mounted. That is why solar cameras exist, and why the setup sequence matters more than the spec sheet.
This guide walks through a complete how to set up a solar farm security camera deployment in six steps: map the farm zones, size the solar panel, match the battery, verify the 4G signal, mount for sun and sight lines, and set up remote monitoring. It includes a farm zone coverage table, panel and battery sizing tables, a three-farm power budget example, and a final installation checklist. Plan the whole site before you buy a single unit, and the cameras will still be recording in the third winter.
Keep reading for more!
The Snapshot
- Start with the zone map, not the camera. Fence line, gate, livestock shed and feed store each need a different position, lens and priority; a farm zone table settles the camera count before any purchase.
- Panel watts decide survival: a 10W panel at 4.5 peak sun hours delivers roughly 34 Wh/day after derating, and a 30W panel about 100 Wh/day, enough for a 2-4W event-mode camera with margin.
- Battery capacity is the weather buffer: a 10000mAh pack (about 37 Wh) keeps a 1W-average camera running about 1.5 days with zero sun; a 20000mAh pack (about 74 Wh) stretches to roughly 3 days.
- 4G replaces the network cable: event-triggered recording on a 4G link uses 0.7-3 GB/day, so a 30-50GB monthly plan fits a normal farm; check the signal at the exact pole before mounting.
- PIR event recording is what makes small panels viable: a sleep draw of 0.1-0.3W and a sub-2-second wake keep average draw near 1W, roughly halving the panel size compared with continuous recording.
Why a Farm Needs Solar Security Cameras
Every farm security camera plan starts with the same question: what are we watching, and from where? The honest answer on most farms is "everywhere the power line does not reach". Outbuildings sit 200-1000 m from the house. The perimeter fence is measured in kilometers. Livestock sheds, feed stores, equipment yards and pasture gates are exactly where theft happens, and exactly where running power and network cable is most expensive. A wired CCTV system solves the problem only where mains power and broadband already exist, which is the house, the office and little else.
Solar cameras solve the power problem with a panel and a battery, and the network problem with a 4G SIM. The economics are stark: trenching a 230V feed runs $15-40 per meter once labor and reinstatement are counted, so a 500 m run costs $7,500-20,000 before a single camera is mounted. Broadband stops at the property boundary. A solar powered 4G camera replaces both runs with a pole, a panel, a battery and a data plan that costs a few dollars a month.
Farms are also the ideal solar camera site for a quieter reason: the power need is small. A farm camera does not record continuously. It sleeps, wakes on motion, records a short clip and uploads it, so its average draw sits below 2W. A 10-30W panel and a 5000-20000mAh battery cover that draw for a full season, including winter. The same budget that fails a continuous recorder succeeds comfortably with an event-based camera. The setup sequence in this guide exists to make that energy budget survive real weather, not brochure weather.
Step 1: Map the Farm: Fence, Shed, Gate and Pasture
An agriculture security camera deployment faces three constraints a warehouse never sees: no mains power at the fence line, no WiFi in the open field, and no technician within an hour. That is why the first step is a map, not a purchase. Walk the property, mark the zones worth protecting, and note the distance from each zone to the nearest power and the nearest building. Most solar camera farm layouts follow the same pattern: one camera, one panel and one battery per pole, spaced 100-200 m apart along the fence line.
| Farm zone | What to watch | Typical camera and lens | Mount height | Scene notes |
|---|---|---|---|---|
| Perimeter fence | Cut fences, trespassers, livestock movement | 4MP solar camera, 2.8-4 mm | 3-4 m on fence posts | 100-200 m spacing, covers the boundary line |
| Main gate and yard entrance | Vehicles, plate reading, who comes and goes | 4MP or 5MP, 4-6 mm lens | 3-4 m on a gate post | Narrow field, long identification distance |
| Livestock shed and barn | Stock theft, feed theft, night activity | 5MP full-color, 2.8-4 mm | 2.5-3 m on the eave | Full-color matters: animals and intruders after dark |
| Feed store and equipment yard | Feed, fuel, tools, tractor and quad theft | 4MP solar camera, 2.8 mm | 3-4 m on a pole | High-value zone, wide coverage preferred |
| Pasture and paddock | Livestock losses, poaching, fence breaches | 4MP with 6-12 mm varifocal | 3-4 m, aimed across the field | Long distance, one camera per field corner |
← swipe to scroll →
The rule of thumb: gates and equipment yards get the best cameras (longer lenses, full-color night vision), the perimeter gets the most cameras (wide angle, spaced along the fence), and the pasture gets the fewest (one per field corner, pointed inward). A farm with four zones and 2-8 cameras covers almost every real loss scenario; a farm with one camera pointed at the barn door covers only that door. Mark the pole positions on the map before ordering, and every later step in this guide becomes a checklist instead of a decision.
Step 2: Size the Solar Panel: 10-30W
Panel wattage is the headline spec, but the number that matters is daily energy: watts × peak sun hours × system efficiency. Peak sun hours is the number of hours of full-strength sunlight (1000 W/m²) a location effectively receives. Typical annual averages run about 6.4 for Phoenix, 4.0 for Shanghai and 2.8 for London, and December values sit at a fraction of those. A solar powered farm camera lives or dies on this number, because the panel must refill the battery every day the sun appears.
The sizing formula used across the off-grid industry:
- Daily energy need (Wh) = camera draw (W) × 24
- Panel size (W) = daily Wh ÷ (peak sun hours × 0.75), where 0.75 covers panel derating, charge-controller loss and wiring loss
Worked example: a 4W 4G camera needs 96 Wh/day. At 4.5 peak sun hours that needs 96 ÷ (4.5 × 0.75) ≈ 28W, so a 30W panel is right. The same camera in a 2-sun-hour location needs about 64W, so two 30W panels. For most farm sites, a 10-30W panel per camera covers event-mode draw with margin. Undersized panels fail months later, not on day one: the battery drains slowly across the season until one long cloudy spell kills the site.
| Panel power | Typical yield @ 4.5 sun h | Camera class it feeds | Typical draw supported |
|---|---|---|---|
| 5W | ~17 Wh/day | Compact WiFi event camera | 2W (event mode) |
| 10W | ~34 Wh/day | All-in-one solar WiFi camera | 2-3W |
| 20W | ~68 Wh/day | 4G solar camera, mild climate | 3-4W |
| 30W | ~100 Wh/day | 4G camera with night light, cold climate | 4-6W |
← swipe to scroll →
Panel technology matters less than size but still counts. Monocrystalline cells at 18-23% efficiency are the standard for solar cameras because they harvest more per square centimeter; a 10W mono panel is roughly 25×30 cm. Above 20W, an MPPT charge controller recovers 15-30% more energy than PWM in cold or partial-shade conditions. Panel output also derates about 0.3-0.5% per °C above 25°C, so a hot rooftop panel delivers noticeably less than its rating. When a supplier quotes a panel, ask for watts, cell type and controller together.
Step 3: Match the Battery: 5000-20000mAh
Battery capacity is quoted in milliamp-hours (mAh) on consumer solar cameras and in watt-hours (Wh) on professional units. The honest way to compare them is Wh, because mAh alone ignores voltage. A 10000mAh pack at 3.7V nominal holds about 37 Wh; a 20000mAh pack holds about 74 Wh. Most all-in-one farm cameras ship with 5000-10000mAh, while 4G units with night illumination use 15000-20000mAh.
Autonomy is the number that matters: battery Wh ÷ average draw = hours of runtime with zero sun. A 74 Wh pack feeding a 1W average-draw camera runs about 74 hours, or roughly 3 days. The same pack feeding a 4W continuously-recording camera lasts only about 18 hours. That is why the draw side of the equation decides how far the battery stretches, and why PIR event recording (covered in Step 6) is not optional on solar gear.
| Battery capacity | Energy (3.7V) | Runtime at 1W avg | Typical fit |
|---|---|---|---|
| 5000mAh | ~18.5 Wh | ~18-20 hours | Compact WiFi event cameras |
| 10000mAh | ~37 Wh | ~1.5 days | Standard all-in-one solar cameras |
| 15000mAh | ~55 Wh | ~2.3 days | 4G solar cameras, mild climates |
| 20000mAh | ~74 Wh | ~3 days | 4G cameras with night light, cold climates |
← swipe to scroll →
Cell chemistry sets the operating envelope. LiFePO4 cells charge down to about -20°C, deliver 2000-3000+ cycles (roughly 5-8 years of daily cycling) and tolerate 80-100% depth of discharge, the right choice for outdoor farm gear. Standard Li-ion cells charge only down to about 0°C, manage 500-800 cycles and prefer 60-80% DOD, which is why consumer units with Li-ion cells lose capacity fast in freezing winters. When a supplier quotes "20000mAh", ask for the Wh figure and the chemistry; together they tell you the real winter autonomy.
Step 4: Verify 4G Signal at the Mount Point
A farm camera sits where WiFi cannot reach, so the LTE modem's sensitivity decides whether the site works at all. The first field task is not mounting: it is standing at each marked pole with a phone on the same carrier and checking the signal. An RSSI of -90 dBm or better gives reliable video upload. -100 dBm or worse means dropped events and reconnection loops that also drain the battery. A zone that shows two bars on the phone will show worse on a camera buried inside a metal housing on a pole.
If the signal is marginal, fix it before spending on hardware. External antennas lift the modem off the metal pole and add several dB of margin. Dual-SIM slots (primary carrier plus failover) keep the site online through carrier outages and weak-signal evenings. Moving the camera 20-50 m along the fence to a higher or clearer spot often gains more than any hardware upgrade. Signal planning belongs in the specification, not as an afterthought: a 4g solar camera with no signal is a very expensive decoration.
Data is the second half of the cellular question. A 4MP camera streaming the main stream at 3 Mbps uses about 1.35 GB per hour; run continuously and one camera burns about 32 GB per day. With PIR-triggered event recording at, say, 30 events per day and 30-second clips, a farm camera uses roughly 0.7-3 GB per day, about 20-90 GB per month. A 30-50GB monthly plan is a realistic budget for a normal farm. Use the sub-stream (typically 640×360 to 1280×720 at 0.5-1 Mbps) for live viewing to keep idle data near zero, and keep the main stream for event clips only.
Step 5: Mount for Sun and Sight Lines
Panel placement decides whether the watts in the spec sheet ever reach the battery. Three rules cover most of the failures seen in the field.
1. Face the panel south (northern hemisphere) and tilt it close to the site latitude. A 30-35° tilt in the southern US, 45-55° in central Europe, gives the best year-round harvest. For winter-heavy budgets, add 10-15° to the tilt; a steeper winter angle captures the lower sun better, trading a little summer surplus for winter reliability.
2. Kill the shade. Even 20% partial shade can cut panel output by 30-50%, because shaded cells drag down the whole panel. A tree that "only shades the corner" in September can kill the site by November as the sun arc drops. Mount the panel where it gets unobstructed sun from 9:00 to 15:00 year-round, and re-check clearance every spring; trees grow.
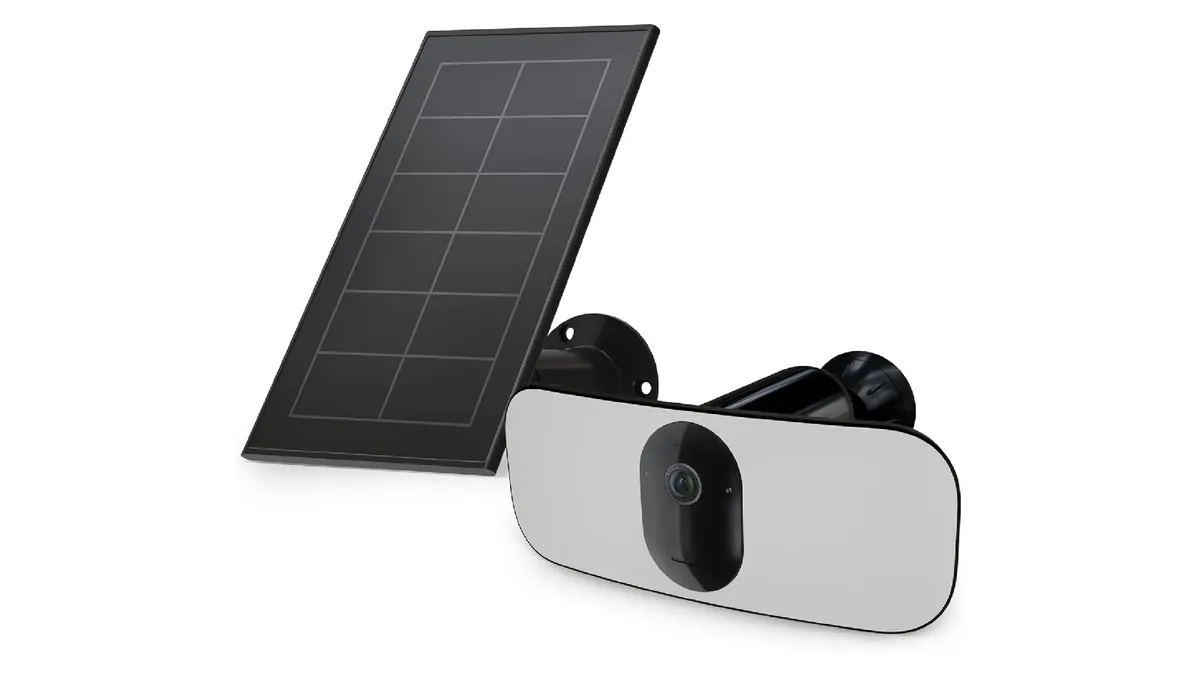
3. Aim the panel and the camera separately. The panel faces the sun; the camera faces the scene, and the two rarely point the same way. On all-in-one units this is a fixed compromise: mount the unit so the panel gets sun and accept a slightly angled view. Or use a split system where the panel sits on its own bracket. A common installer mistake is aiming the whole unit at the scene and leaving the panel pointed at a wall.
Camera height and angle follow the zone table: gates and fence lines at 3-4 m to clear livestock and machinery, shed eaves at 2.5-3 m, with the camera tilted down 15-30° so the field of view ends inside the protected zone. A gate camera with a 6 mm lens identifies a person at roughly 12-15 m; the same camera with a 2.8 mm lens at 5-8 m. Match the lens to the distance you must identify, not to the widest view the brochure shows.
Step 6: Remote Monitoring and Alerts
Once the cameras are up, the farm operates from a phone. A dependable farm camera setup delivers three things to the farmer: a live view, an alert and a recording. Modern solar cameras provide all three through a P2P app with zero port forwarding: add the camera by scanning a QR code, and the app maintains the connection through the carrier network. The same app handles live viewing over the sub-stream, playback from the SD card or cloud, and push alerts when a PIR trigger fires.
Configure the alerting before you leave the site. Set motion zones so the fence line triggers alerts but the road beyond it does not. Set an activity schedule, with gates and feed stores active 24/7, pasture cameras active at night and during calving season. Tune PIR sensitivity so livestock movement and moving foliage do not flood the phone with false alarms; most units let you set a sensitivity level and a cooldown between events. On an event-heavy farm with 50-100 triggers a day, average draw stays around 0.8-1.5W, versus 2-4W for continuous recording, the difference between a 10W panel working and a 30W panel being required.
Remote access also means remote maintenance. Solar cameras with 4G accept over-the-air firmware updates, so a battery-management fix or a carrier compatibility patch lands on the pole without a service visit. Share the app account with the farm manager or family members so the site is never watched by one phone. Check the monthly data usage after the first week: a camera stuck streaming live for hours shows up immediately in the carrier app, and the fix is usually a schedule or a motion zone, not a bigger plan.
The Farm Power Budget: Three Worked Examples
The numbers above combine into a site budget. The table below shows three typical farm deployments with realistic panel, battery and data choices. Treat every figure as typical and re-run the formula for your own latitude, winter sun hours and event rate.
| Farm size | Cameras | Panel per camera | Battery per camera | Typical data plan |
|---|---|---|---|---|
| Small hobby farm | 2 (gate + barn) | 10W | 10000mAh | 1 × 30GB SIM |
| Medium livestock farm | 4 (gate, shed, feed, fence) | 20-30W | 15000-20000mAh | 2 × 50GB SIMs |
| Large arable or ranch | 6-8 (perimeter + yards) | 30W | 20000mAh | 3-4 × 50GB SIMs |
← swipe to scroll →
The sizing rules stay the same at every scale. Size the system for the worst three months, not the annual average: a site with 4.5 annual peak sun hours might see 1.5-2 in December, which is why cold-climate kits ship with 30W panels and 20000mAh batteries while mild-climate kits make do with 10W and 10000mAh. Give every camera 3+ days of zero-sun autonomy and a panel sized for the worst month, and the site survives normal weather indefinitely. Anything with less than 24 hours of autonomy goes offline at least once per season, usually on the night it matters.
Night Coverage: Full-Color Evidence After Dark
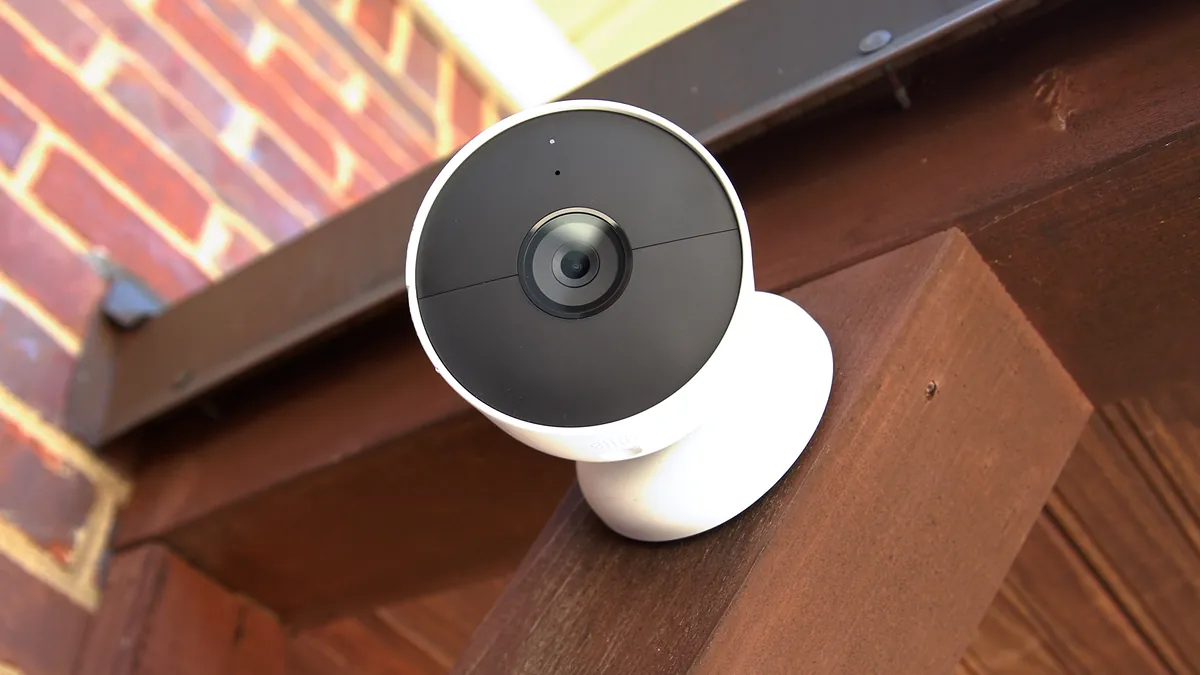
Farm crime happens at night, and the camera's night strategy decides whether the footage is evidence or a silhouette. Two camera families dominate the question. IR (infrared) cameras illuminate the scene with 850 nm LEDs and record grayscale: a shape, not a description. Full-color night vision cameras use a large sensor, an F1.0 aperture and a built-in white-light fill to record continuous color in zero light, typically to 20-30 m on a fixed camera.
For a farm the difference is decisive. Grayscale footage cannot answer "what color was the truck?" or "what color was the jacket?", the details a police report and an insurance claim need. A full-color camera records those details; an IR camera records silhouettes. Full-color cameras carry a second benefit on a farm: the white light itself deters. An intruder walking into a lit yard knows they are on camera, and most turn around. For gates, equipment yards and feed stores, full-color night vision should be the default, and the battery budget should include the illuminator: white LEDs add 3-6W while active, IR adds 1-3W.
The solar architecture pairs cleanly with full-color cameras. The illuminator runs only during triggered events, so its draw lands inside the event-mode budget rather than a continuous load. When you spec a farm solar camera, ask for the sensor size, the aperture and the night illumination type together, the same way you would for a wired camera (see our full-color night vision guide for the full comparison). A solar camera that records grayscale shapes saves you the power but loses the evidence.
Farm Solar Camera Installation Checklist
Work through this checklist in order on every farm deployment. Each item maps to a number a serious supplier can state; a supplier that cannot state it is selling marketing.
- 1. Zone map and pole positions. Mark fence, gate, shed, feed store and pasture on a site sketch before ordering. The map decides the camera count and lens plan.
- 2. 4G signal check at each pole. Confirm RSSI of -90 dBm or better at the exact mount point. Add an external antenna or move the pole when marginal.
- 3. Panel sized for the worst month. 10-30W typical per camera; monocrystalline cells; MPPT controller above 20W.
- 4. Battery in Wh and chemistry. 5000-20000mAh depending on illuminator; LiFePO4 preferred for winter charging and cycle life.
- 5. Panel mounted south at latitude tilt, zero shade. Unobstructed sun 9:00-15:00 year-round; re-check clearance every spring.
- 6. Camera mounted 3-4 m (gates, fence) or 2.5-3 m (eaves), tilted down 15-30°. Lens matched to the identification distance.
- 7. PIR sensitivity and schedule set. Motion zones drawn so the road does not trigger alerts; cooldown tuned to the site.
- 8. Alerts, local SD recording and cloud backup enabled. Confirm clips upload over 4G and playback works from the app.
- 9. Data budget checked. 30-50GB per month per 4G camera; verify usage after the first week.
- 10. Night test and handover. Walk the site after dark, confirm full-color coverage, and share app access with the farm manager.
Farm Solar Camera Questions
How many solar cameras does a farm need?
A typical farm needs 2-8 cameras: one on the gate, one on each livestock shed or feed store, and the rest spaced 100-200 m apart along the perimeter fence. Pasture fields usually get one camera per corner, pointed inward. The zone map in Step 1 settles the exact count before ordering.
Will a solar farm camera work in winter?
Yes, when sized correctly: a LiFePO4 battery charges down to about -20°C, and a panel sized for the worst month (not the annual average) keeps the battery topped up through short winter days. Give the camera 3+ days of zero-sun autonomy and it survives normal winter weather.
How much 4G data does a farm camera use?
With event-triggered recording, roughly 0.7-3 GB per day depending on activity, about 20-90 GB per month. Continuous streaming at 3 Mbps uses about 1.35 GB per hour and is not viable on a solar camera. A 30-50GB monthly plan fits a normal farm site.
Can I watch farm cameras on my phone?
Yes. Solar cameras with 4G connect through a P2P app with zero port forwarding: scan the QR code, and the app delivers live view, playback and push alerts from anywhere. Use the sub-stream for live viewing to keep data usage near zero.
Do solar farm cameras record at night?
Yes, because the camera runs off the battery at night while the panel charges during the day. Night draw comes from the illuminator: IR LEDs add 1-3W and record black-and-white, while a full-color night vision camera running white LEDs adds 3-6W while active. Budget that draw into the battery before buying.
What is the difference between a solar camera and a battery camera?
A battery camera empties and dies. A solar camera has a recharge loop (panel, charge controller and battery), so it tops itself up daily and only draws the battery down during weather gaps. The sizing question changes from "how big a battery" to "how much panel, battery and how little draw".
The Bottom Line
A farm solar camera system is specified by its zone map and its energy budget (panel watts, battery Wh, average draw and peak sun hours), not by its megapixel count. Map the fence, gate, shed, feed store and pasture zones first. Give each camera a 10-30W panel sized for the worst month and a 5000-20000mAh battery with 3+ days of zero-sun autonomy. Verify 4G signal at the exact pole (-90 dBm or better), mount the panel south at latitude tilt with zero shade, and set event-triggered recording with fast PIR wake and a 30-50GB monthly data plan per camera.
At FULLCOLORCAM we build 4MP and 5MP full-color night vision cameras with F1.0 lenses and H.265+ recording, including solar-ready and 4G models for off-grid farm sites. Every unit is tested before shipping, is ONVIF-conformant and includes free P2P remote access. Send us your farm zone map, camera count and winter sun hours for a power-budgeted quote. We will tell you the panel, battery and data plan your farm actually needs, not the biggest numbers on a spec sheet. Contact us at cj226144@gmail.com.
NEXT STEP
Ready to Upgrade to Full-Color Night Vision?
Send us your requirements — our team responds by email.
Written by
Ray ChanCCTV Buyer's Guide Author · Full-Color Night Vision Specialist. Ray helps global importers and integrators source factory-direct security cameras.